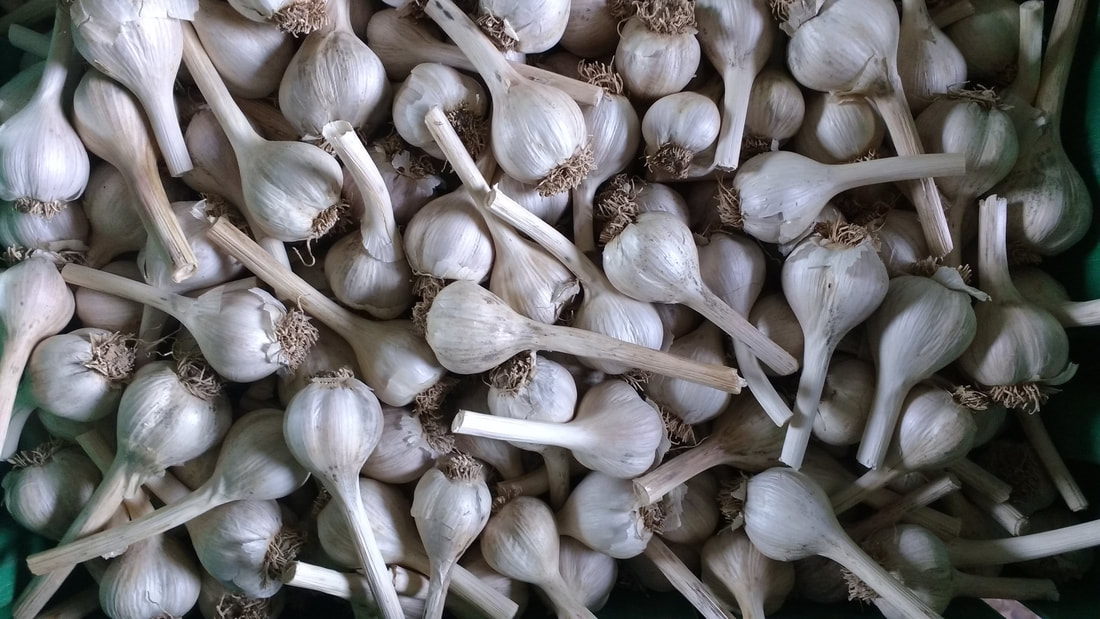
 Almost every season is garlic season--the bulbs can be harvested fresh sometime by the end of June or kept in the ground & harvested for storage sometime around mid-July, to supply our household (and CSA!) with garlic until sometime around February or March, when they start to get a little sprouty. But soon enough, we start harvesting the young garlic shoots whole as scallions, quickly followed by the flowering tops as scapes. So garlic is always in season. Toward the end of winter, when I still have a stock-pile and the garlic wants to sprout (Spring is coming!), I enjoy these recipes as an easy way to keep garlic on-hand for immediate use. We love having roasted garlic in a jar in our fridge to throw into or onto pizza, pasta, rice, soup, lasagna, stir fry, sauces, mac-n-cheese, or anything you please! We use toasted garlic, ground in a spice grinder, as a dry rub for meats, or in marinades for veggies. (This also makes a great gift when packed in a mason jar and tied with a ribbon!) And nothing warms up the house quite as much as winter pizza night. This garlic & herb pizza crust is my all-time favorite for homemade pizza crust (though it makes a good bread too), topped with roasted sweet potatoes, home-grown tomato sauce, local sausage, pesto from the freezer, and of course cheese. 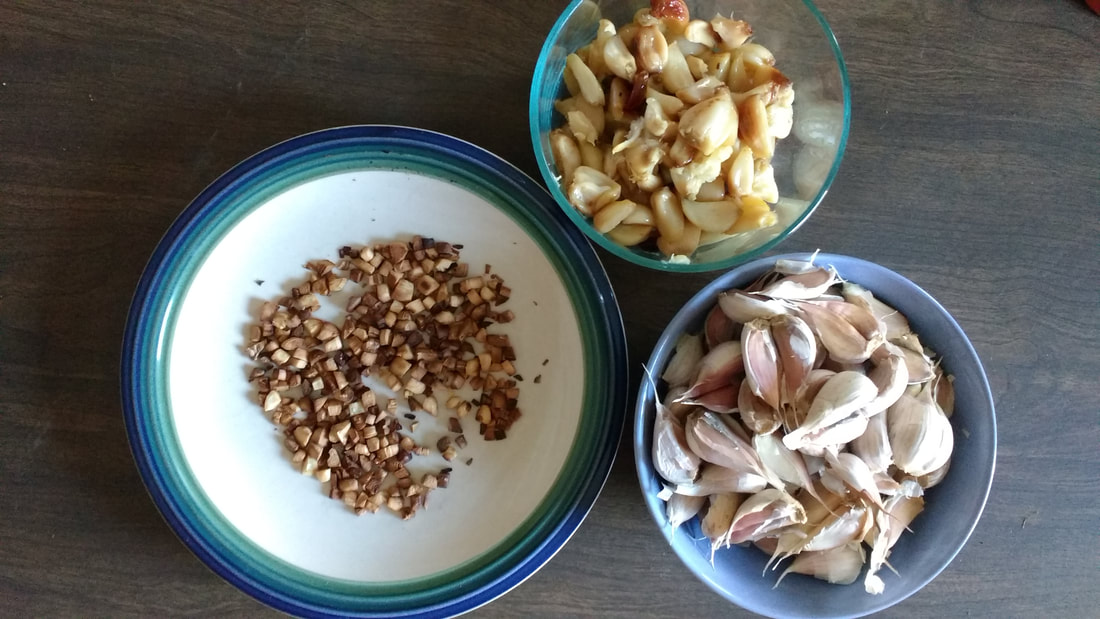 To make Roasted Garlic, turn the oven to ~400 degrees. I usually roast my garlic just whenever I am lighting the oven to roast other vegetables or bake bread, so the temperature is not firm. Trim the roots (if necessary) and use a knife to cut the tops off the cloves (while still attached to the head), so that the cloves are exposed. 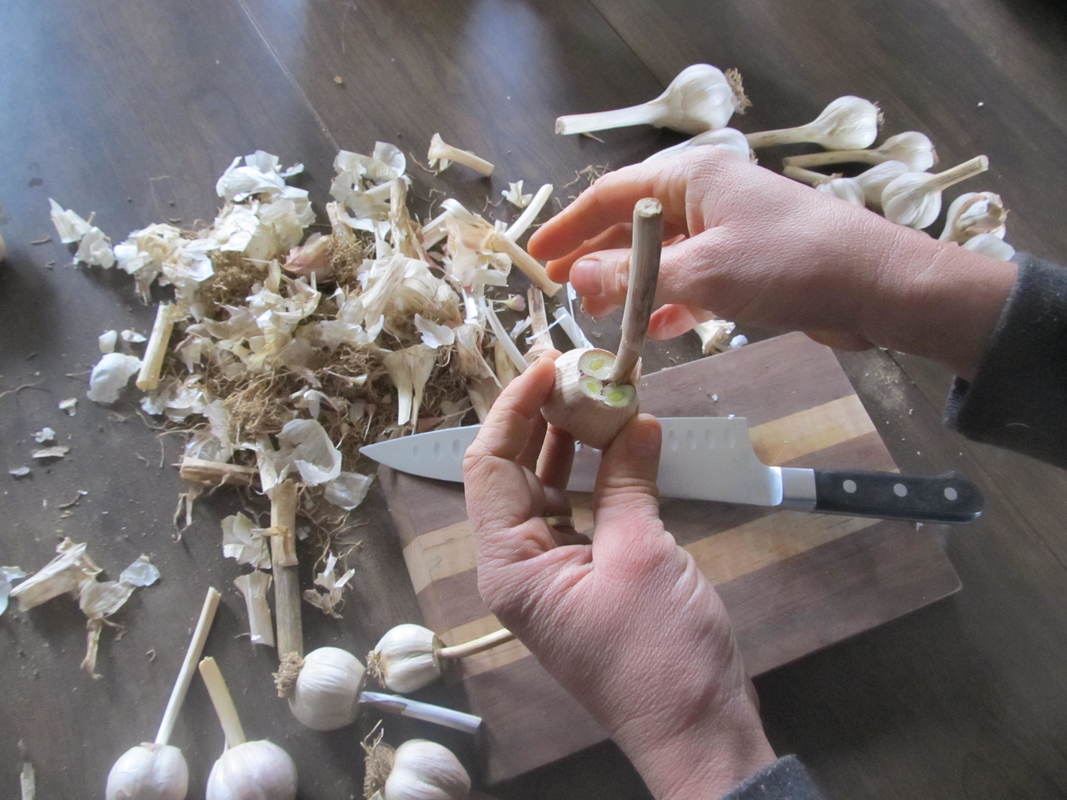 After prepping all of your heads, arrange in a pan with roots down. Fit the heads in so they sort of hold each other up. You can use a deeper pan if you want to submerge in olive oil completely in order to make roasted garlic oil to use for dressings and marinades. I prefer not to submerge (which uses less oil). If not submerging, drizzle a generous amount of oil on top so that it gets into the cloves as much as possible. Sprinkle with salt. I also add a tablespoon of water. 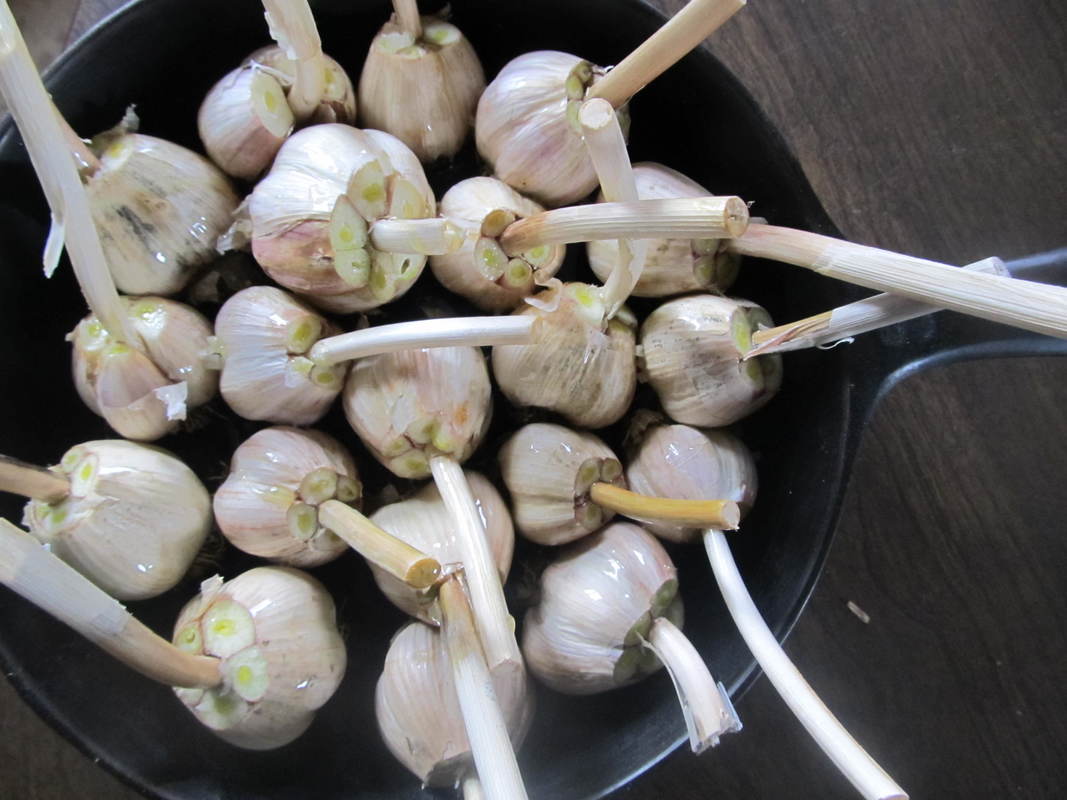 Cover with foil, and roast for 30-40 minutes, or until cloves are soft through and through. After cool, remove cloves from paper by hand and store in a jar in the fridge. They will keep for several weeks. 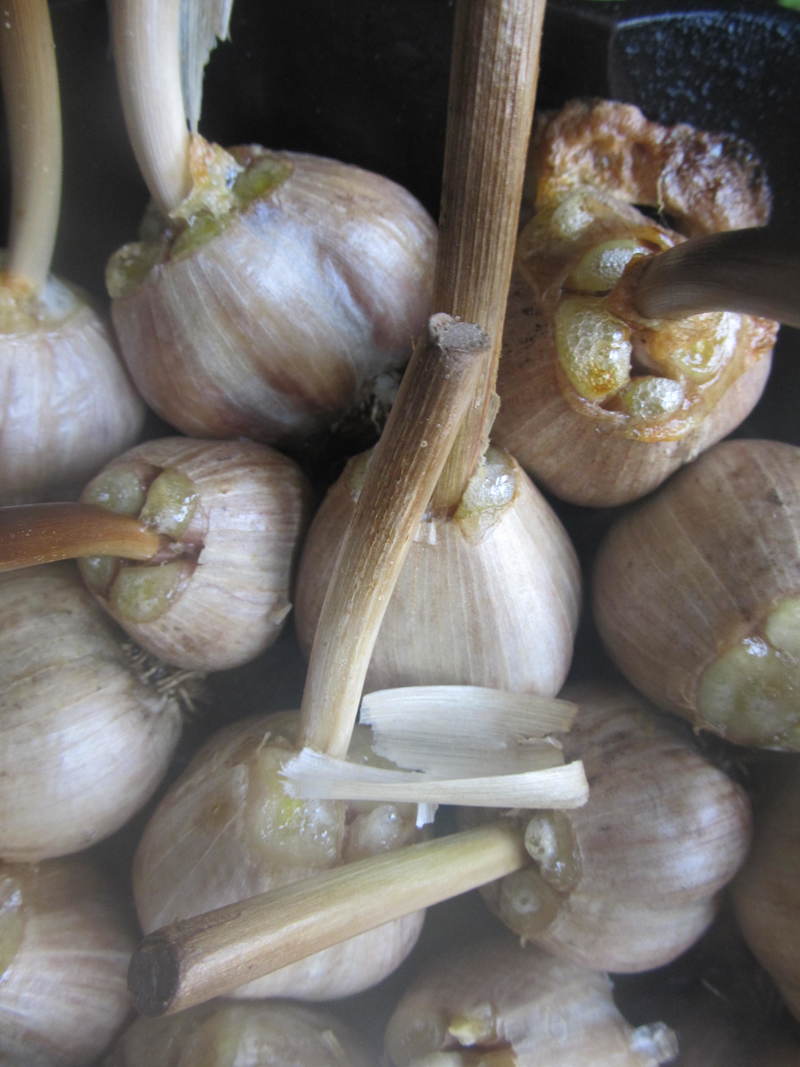 Toasted Garlic takes a good bit of preparation, but will keep indefinitely and is convenient to have on hand for garlic flavor without all the cutting. Peal garlic without squishing the cloves. Cut into approximately 1/4" squares, as uniform as possible. Meanwhile preheat a cast iron pan, either on the stove or in the oven until hot but not smoking. Do not use oil or fat in the pan.  Make enough garlic squares to cover the pan with a single layer, but not more. Toss the garlic into the pan and stay close by. Continue to toss the garlic in the pan, being careful not to burn the garlic, until it is a toasty brown. At first, it will seem to stick to the pan, but as it toasts and dries, it will be less sticky! Cool on a plate. Toasted garlic can be used in a salt/pepper grinder, or ground with a mechanical spice grinder into a powder--makes a great seasoning or rub.  This recipe is adapted from Oreganato Bread from Brother Juniper's Bread Book. It can be used as a Pizza Dough or as a bread.
This will make a substantial amount of pizza dough--enough for 4-5 good sized pizzas. You can use half to make a loaf of bread if you want less pizza! 8 cups unbleached bread flour (I use up to 50% whole wheat or Spelt flour) 3/4 cup polenta/ coarse corn meal (optional) 4 T crushed fresh garlic (or, use toasted garlic recipe from above, grind, and use 4 t) 2 t cracked black pepper (can be omitted for the little ones) a mix of fresh or dried herbs, including thyme, oregano, sage, or parsley--if you like herbs, go wild (6 t dried or 6 T fresh) 1 1/2 T instant yeast, or 2 T active dry yeast 4 t sea salt approximately 2 3/4-3 c warm water (will need more for partially whole grain bread) Mix all dry ingredients including the yeast; add the water, saving some for the final adjustment (you might need more). Turn onto a floured countertop and kneed for 10-12 minutes, or until the dough is elastic yet firm, tacky but not sticky. Return the dough to a large bowl; cover with a damp towel or plastic wrap; allow to rise 1.5 hours at a warmish room temperature. Pre-heat the oven to 450 degrees (or hotter!) and preheat a baking stone if you prefer. I prefer to stretch dough by hand* (use a rolling pin for thinner crust), then put it in a non-preheated cookie sheet or cast iron pan, first sprinkled with coarse corn meal. This makes for a much easier process and a soft, dough-y pizza with a very home-made taste. We like to use a LOT of veggie toppings, but don't over-sauce it! *Use ample flour when stretching or rolling your dough to prevent sticking, and allow for an easier process. Rub a little olive oil on the crust, then top, with cheese last. If you're using a baking stone, transfer the pie carefully onto your stone, using a wooden pizza peel well-floured, if you have one. Bake for 6-10 minutes, or more. Broil the top for 1-2 minutes at the end for a crispy cheese top, watching closely to prevent burning.
4 Comments
10/24/2018 01:16:42 am
wow, first time i heard about a recipe like this. i will try it in tonight, thanks for sharing 1/29/2019 06:58:05 pm
I get the reason why a lot of people love roasted garlic. I am also a huge fan of roasted garlic especially if it's put on nuts too! Aside from the fact that garlic has a numerous benefits in our body, it's quite exciting to know that it makes our food even tastier! undoubtedly, garlic could be one of the most powerful vegetable we can ever have! Garlic, whatever cooking style may it had been, is really close to my heart! 3/23/2020 02:45:16 am
Although, it weighs a little heavy, the other features of this machine worth everything. Let us have a look. Leave a Reply. |
Archives
December 2019
FarmersAnton M. Shannon Categories
All
|

 RSS Feed